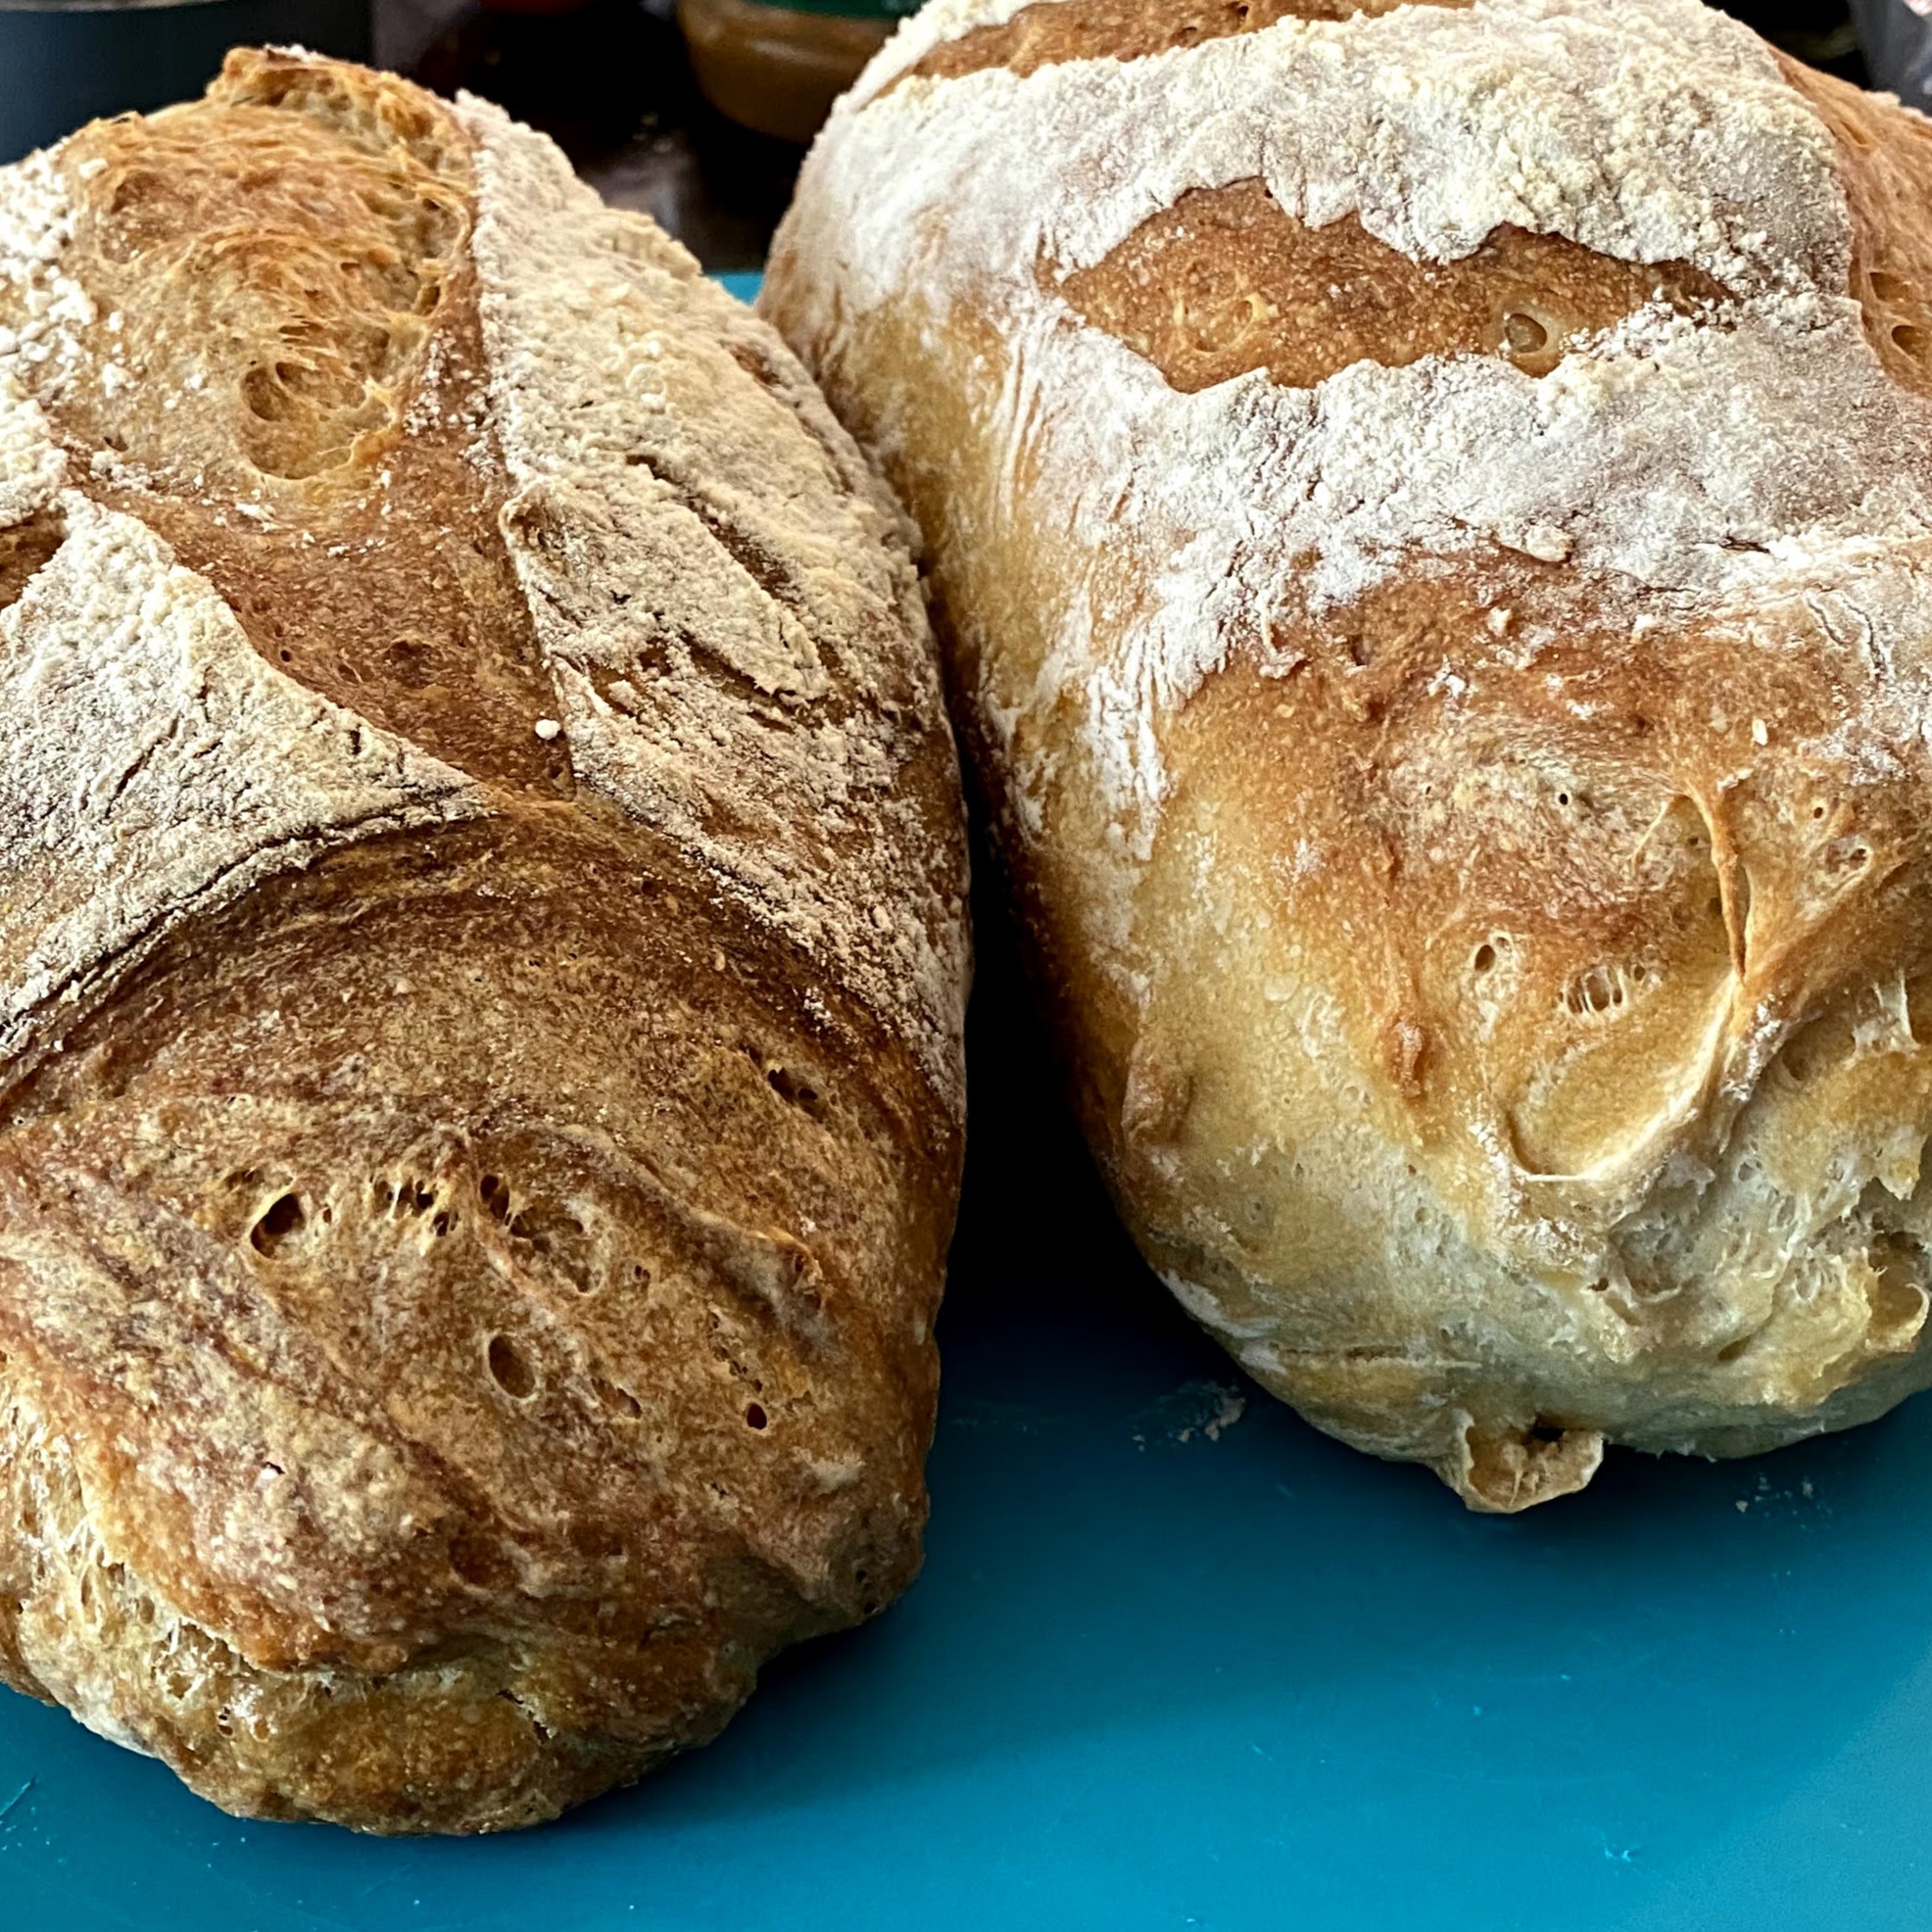
I wrote up a medium-length intro to sourdough (for someone who doesn't own a kitchen scale/wants to skip some of the fussier steps) and would love to share it with you!

Sourdough was a beloved practice of my underemployed early twenties, and like many people I returned to it during the 2020 lockdown, with way more time at home, less ready cash, and fewer chances to shop. Sourdough bread is mostly flour and water, but the real main ingredient is time! So much time that it's almost embarrassing or mind-boggling to view it all written out. But it's not active work—it's more adjusting to a very un-modern rhythm of continuous gentle tending. Like having a pet that helps you make dinner. 🕑🕒🕓🕔🍞✨
☙ I love sourdough because it feels like an elegant solution to self-sufficiency—you can bake all sorts of things without buying yeast or baking soda!—as well as an ancient tradition and a weird science project at all once. Out there on the internet there's a ton of overly detailed advice and specialized equipment for sourdough processes, but IMO all you really need is a lot of flour and a lot of time. Warning, this truly uses a ludicrous amount of flour but otherwise it's a lot like owning a very rewarding houseplant ;)
☙ This guide includes instructions for catching your own sourdough from the air, so if you get some from a friend/bakery instead you can skim through the intro (though it includes background info that may be helpful!) and straight to maintenance and recipes.
My "wild yeast" instructions are adapted from this blog. If you get a cup of established starter from a friend or bakery, consider skimming this anyway so you know how it all works! I also highly recommend scrolling through this picturesque and educational Twitter thread that really helped me visualize the process—lovely photos + commentary from @SeamusBlackley, a baker who gathered wild yeast in a field in England. Here's a neat article with more scientific explanation of yeast activity!
INGREDIENTS
☙ Flour (all purpose/bread flour/whole wheat all work)—budget around 5 cups to get started and then another 8 cups to bake your first loaves.
☙ Warm, filtered water (or tap water that has sat out for an hour for chlorine to evaporate, if you don't have a filter)
TOOLS
☙ Glass or plastic bowl (some metal bowls kill yeast)
☙ Wooden spoon/sturdy rubber spatula
☙ Tea towel
THE PROCESS
☙ On day one, mix 1/2 cup of flour and 1/2 cup filtered water. Stir well and scrape down the sides. Place a clean, damp tea towel over the bowl and set aside. Allow it to sit for 24 hours. You are catching the "wild yeast" that lives in the air around us! On day two, discard half of the mixture and repeat the process. Add 1/2 cup flour, 1/2 cup water, stir vigorously and cover. Repeat the day two instructions for days three, four and five.
☙ On days six and seven, do the same but feed it every 12 hours, instead of every 24. By day seven, there should be enough beneficial bacteria and yeast present to bake sourdough bread. You will know it’s working if it bubbles and rises.
☙ Why do you have to discard half the mixture over and over? Partially to control the volume—it would quickly get too huge. But also, removing half ensures the right amount of flour and water is feeding the growing colony of beneficial yeast. If you weren’t discarding half, the 1/2 of flour wouldn’t be enough to feed them on days three and four. You would end up with a whole lot of extra starter by the end of the process and none of it mature.
So here's the short version—
☙ Day 1: mix 1/2 cup flour and 1/2 cup water (always use warm, filtered water)
☙ Day 2: discard half, add 1/2 cup flour and 1/2 cup water
☙ Day 3: discard half, add 1/2 cup flour and 1/2 cup water
☙ Day 4: discard half, add 1/2 cup flour and 1/2 cup water
☙ Day 5: discard half, add 1/2 cup flour and 1/2 cup water
☙ Day 6: in the morning, discard half, add 1/2 cup flour and 1/2 cup water; in the evening discard half, add 1/2 cup flour and 1/2 cup water
☙ Day 7: in the morning, discard half, add 1/2 cup flour and 1/2 cup water; in the evening discard half, add 1/2 cup flour and 1/2 cup water
That's 4.5 total cups of flour that will be needed to get your starter going. That may sound like a ton of wasted flour—but around day 5, you can start using your discard as an ingredient, not just throwing it away! (That's one of my favorite parts... more on that later.)
Once it's established, you can use your starter by adding a proportionate amount of flour and water (so if you have 1 cup of starter, add 1 cup of flour and 1 cup of water) and letting it sit for around 24 hours before you start baking. Does this sound like it takes way too much time?! Yes, in some ways, this feels ridiculous! It takes getting used to a different rhythm of food creation, one that's totally contrary to our modern culture of fast satisfaction. But once you're in that rhythm (at this point I refresh mine every morning) it's very little active work. And what you get in exchange is freedom from having to buy leavening ingredients. (And a pleasant sour flavor.)
Do you need to use precise measurements? A lot of people do—a baking scale lets you get super accurate! As for me... honestly, I just eyeball everything pretty casually. My mantra is, "Bread is an ancient tradition and my peasant ancestors did not have a baking scale."
A healthy starter will have lots of bubbles and smell pleasant but a bit sour/fermented. When you pour or stir it, it should feel stretchy and "alive." A small bit of it should float in water. If none of these things are happening, feed it and try again the next day. ("Day" here means around 10-24 hours—whenever it's convenient for you to check and you see bubbles.)
Every day it's fed, it will get bigger and then smaller again. Some starters have a dramatic difference in size, some not as much. Here are some photos of a starter that gets intensely different sizes throughout the day! Mine isn't nearly as dramatic.
Once established, you can keep it in the fridge for weeks without feeding it. To start back up, give it a feeding and you can use it the next day. Over time in the fridge, the starter will develop a greyish acetone-smelling liquid on top. This is an alcohol byproduct and means it needs to be fed higher proportions of flour and water, or fed more frequently (so maybe your 24-hour feeding schedule should become an 18-hour schedule, etc.). Pour off the alcohol, feed the starter, and you can use it the next day.
Don't worry if there are some flour lumps when you feed it; you don't need to mix perfectly. If a skin develops on top, that's just air drying it out—just pick it off before using the starter. A damp towel on top helps prevent the skin. If it's neglected for a long time, it might stop bubbling or grow mold on top. Dump everything but a few tablespoons. Add 1 cup water and 1 cup flour and start over with the feeding + discarding process until it looks/smells normal again. Starter is resilient!
As a rule of thumb, you want to feed your new starter in roughly proportionate volume—1 cup old starter + 1 cup flour + 1 cup water will refresh the starter for the next day. So if that combines to create ~2.5 cups of starter, do you have to feed it the next day with 2.5 cups of flour and 2.5 cups of water? No—now you're finally able to use it! 1 cup of that starter will stay in your starter jar—refrigerate it if you want to put it on pause, or add the normal 1 cup of flour + 1 cup of water to it if you plan to use it again tomorrow. The other 1.5 is yours to cook with!
The classic use of starter discard is baking bread! But there are also simpler ways to enjoy starter. A day after feeding, starter can be used up in any recipe where you'd use flour and water. But my favorite is baked items where you'd normally use leavening like commercial yeast or baking powder... here are a couple of my current top picks:

☙ Sourdough Pancakes/Waffles
This couldn't be simpler—starter that was fed a day ago makes a tasty breakfast all by itself! If your starter has a thicker/dryer texture, thin it out with a little water. Add a glug of veggie oil and a bit of sugar, plus fruit or other mix-ins as desired, and pour mixture into a hot, greased pan for nearly instant pancakes or waffles with a fluffy, chewy texture.☙ Sourdough Cinnamon Rolls
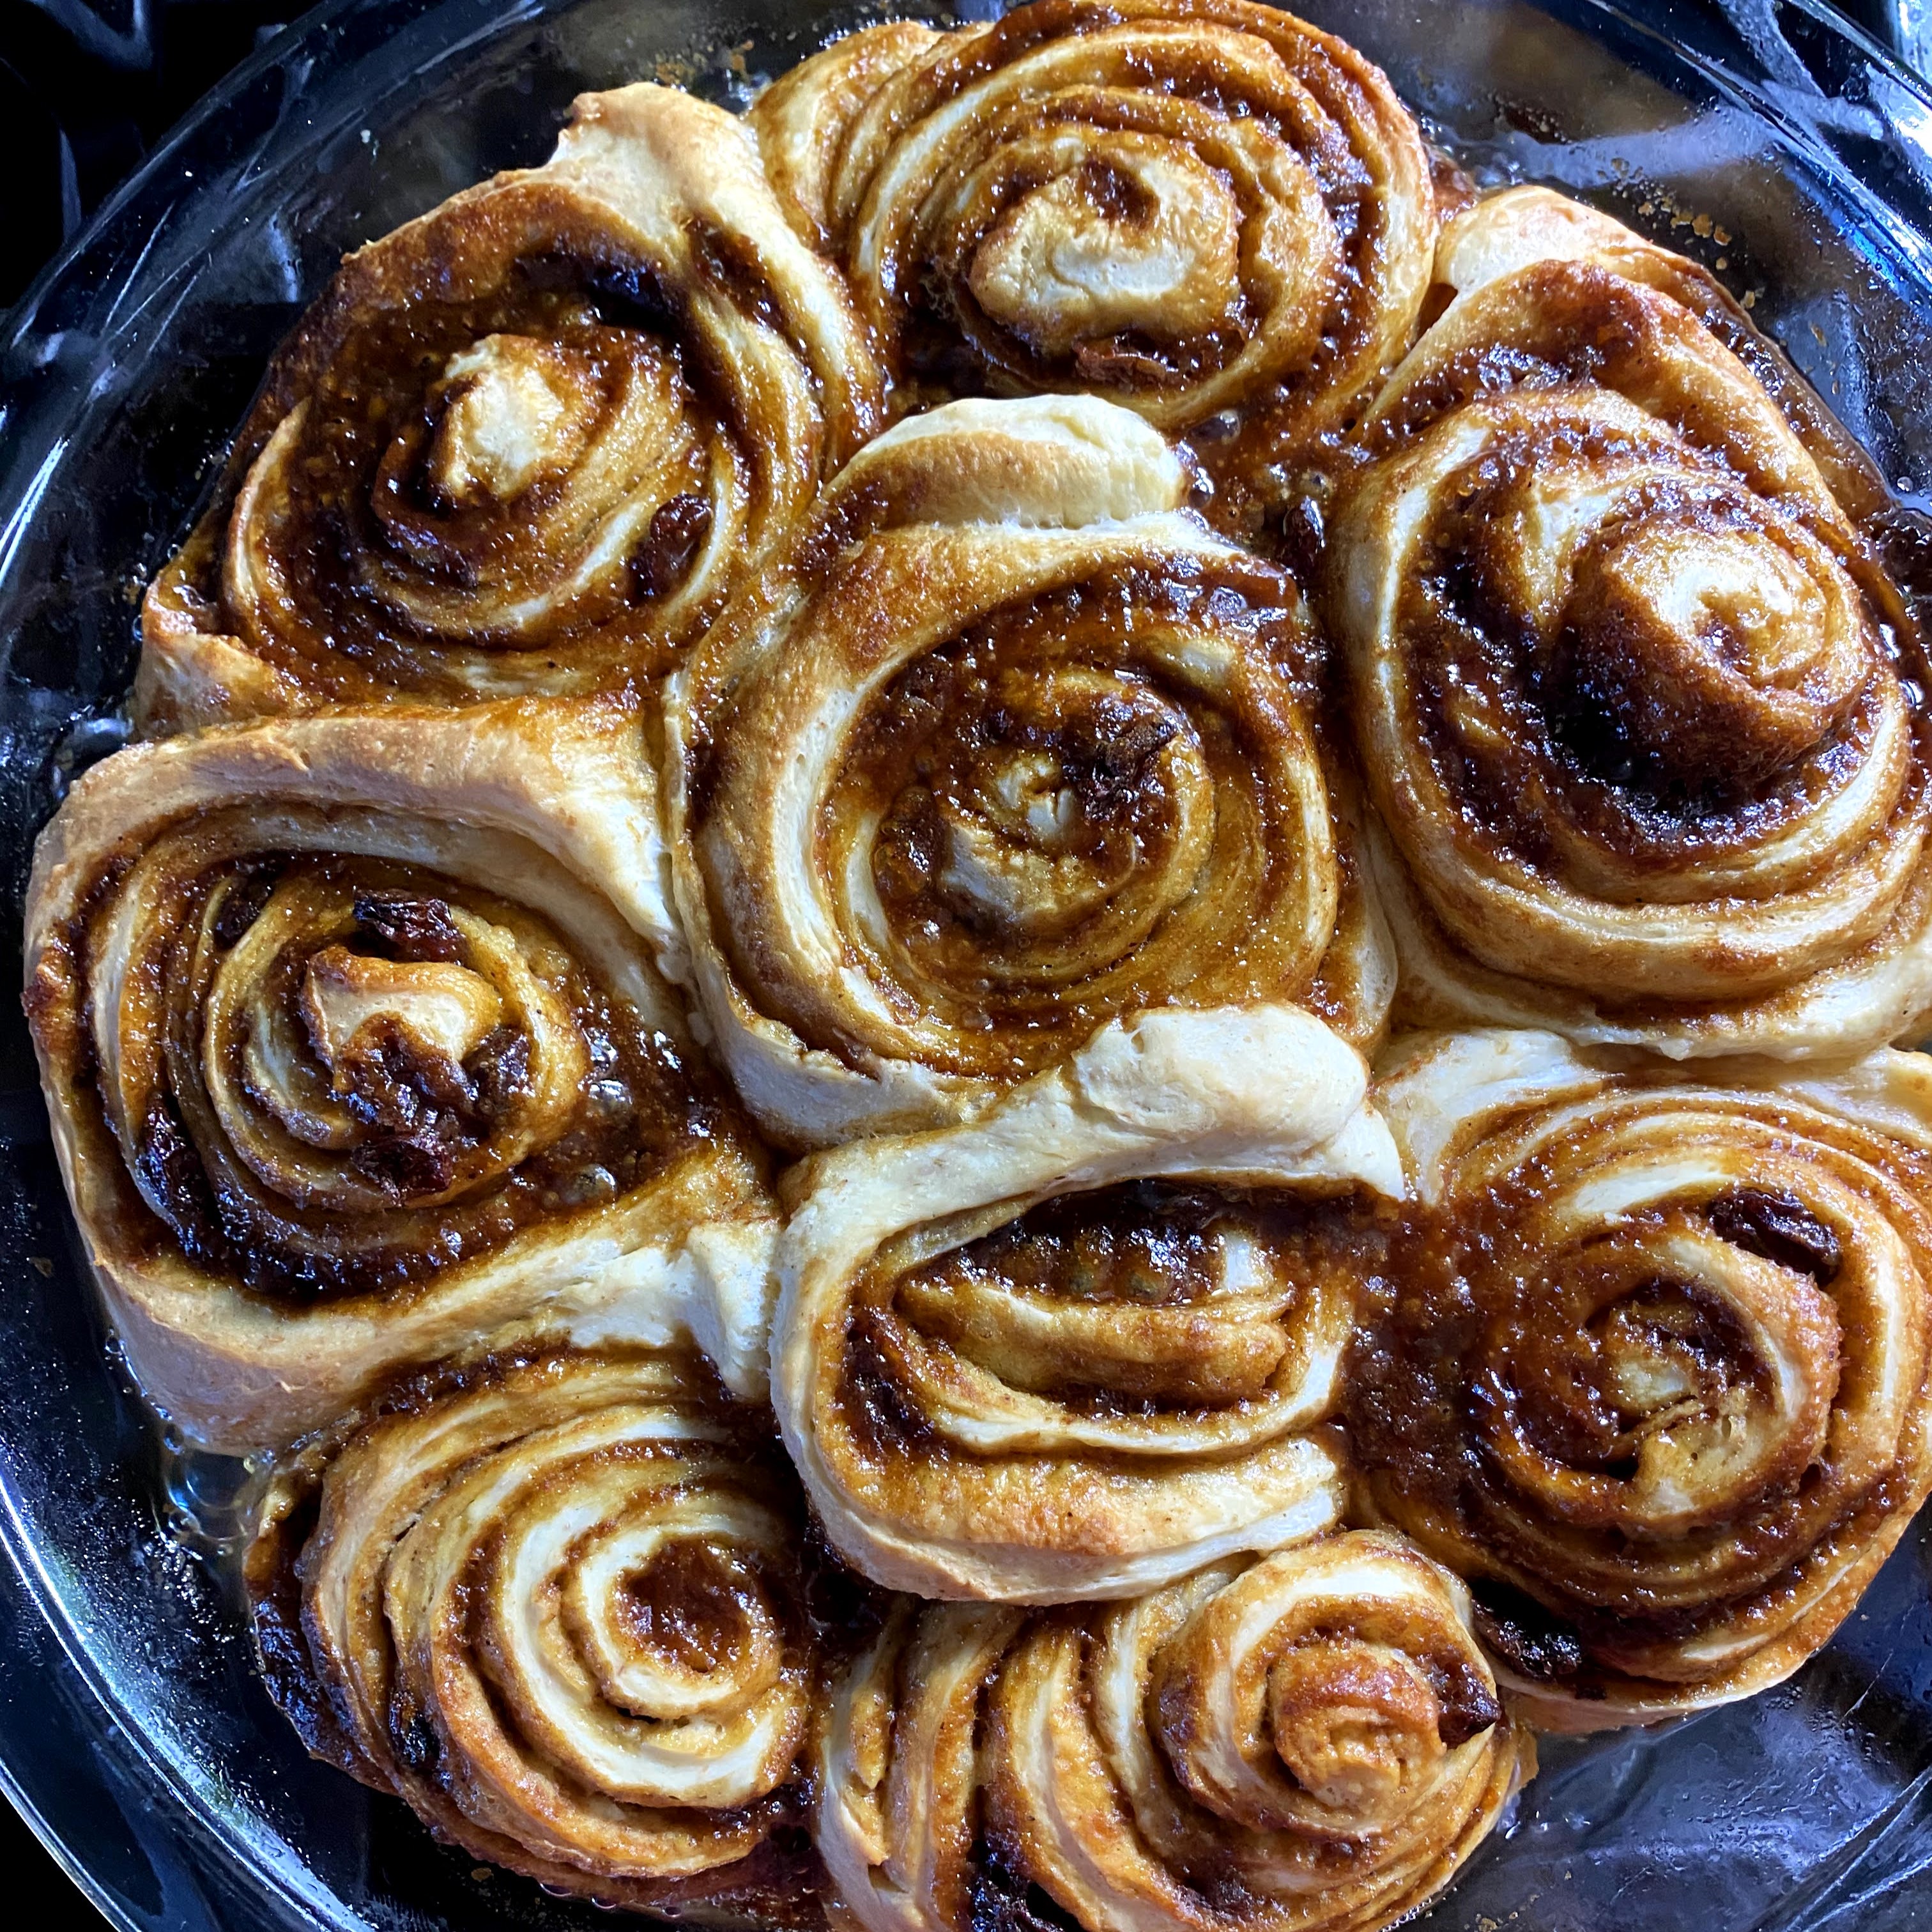
Time-consuming but worth it, this King Arthur recipe is one of my favorite things to bake and also eat.☙ Sourdough Pizza (based on)
1 1/2 cups sourdough starter discard
3/4 cup warm filtered water
2 tablespoons olive oil
3 3/4 cups bread flour or unbleached, all-purpose flour (can sub up to 1 1/2 cup whole wheat)
1 1/2 teaspoons saltCombine the ingredients in a large mixing bowl. Stir then knead until the dough forms an elastic, slightly shaggy dough.
Remove dough from bowl and grease the sides of the bowl with olive oil.
Return dough to bowl and rise until doubled in bulk, about six hours.
Overturn risen dough onto cutting board and cut into three equal portions.
Prepare your baking sheet(s): sprinkle with extra flour or cornmeal, or grease with olive oil, or line with parchment paper/silpat.
Very gently, avoiding tears, stretch each dough section over the prepared sheet.
Add your toppings and bake on the grill or in the oven at 475 until the crust is crisp and the toppings are cooked, about 5 to 10 minutes.☙ Sourdough Scallion Cakes (based on)
1 cup sourdough starter discard
A few tablespoons of water, if needed
1 tablespoon sesame oil for bread, 2 for skillet
1 teaspoon freshly grated ginger
1/4 teaspoon salt
A few grinds of freshly cracked black pepper
1/2 cup thinly sliced scallions
3 tablespoons Sesame seeds
1-2 tsp soy sauce, for dippingMix all ingredients except water. If needed, add water a little bit at a time until your mixture is the consistency of a thick pancake batter.
Heat skillet over medium-high heat and add sesame oil.
Ladle pancakes into skillet. When edges are dark and bubbles have formed around the edges and surface of the pancake (about 2-3 minutes) flip and cook an additional 2-3 minutes.
Cut into wedges and serve with soy sauce.
OK, finally! Here's my fairly streamlined style... again, a LOT of time but not a lot of active work. Think of time as the major ingredient in the recipe. You'll need your starter plus 1 tablespoon of salt, warm filtered water, and around 7-8 cups of flour. It makes two loaves. I like to bake loaves on a cookie sheet lined with parchment paper or silpat, or inside a container like a loaf pan or dutch oven. Grease or liberally flour your container if it's not nonstick (but parchment paper is ideal).

☙ Feed starter. If your starter was hanging out in the fridge, refresh your starter with 1 cup water and 1 cup flour. Cover with damp tea towel and wait a day. (Again, "a day" is around 10 to 24 hours!) If it's been living out on your counter and was fed a day ago, you can skip this step.) Make sure it's ready to go by floating a tiny bit in water—if it sinks, feed again and wait another day.
☙ Create sponge. Mix 2/3 cup starter discard, 1 cup water, and 1 1/2 cup flour. Cover with damp tea towel and wait a day.
☙ Create dough:
- In a new bowl, mix 2 cups water and 4 cups flour. (I usually do 2 cups whole wheat and 2 cups white.) Let it sit for at least 30 minutes for water to permeate the flour. Then add this flour-water to the bowl containing the sponge: combine by pinching them together gently with your fingers until they're evenly mixed. Add the tablespoon of salt and another cup or two of flour, until the texture is smooth. It may still be a bit wet—that's okay.
- Cover with damp tea towel and let sit for at least 2 hours. During this time, it will become larger than before, fluffy and full of bubbles, and very elastic.
- Gently pick up one part of the dough and fold it to the opposite side, then turn the bowl and do it again. You're trying to keep the bubbles intact, so no hard kneading. This is difficult to describe but easy to do—check out this video starting at :41 to see what I mean.
- Cover with damp tea towel and let sit for at least another 30 minutes. During this time it should rise again, ideally to double its original size. You can fold and rise again and again, but I just do it once.
- Tip the bowl over onto a silpat or floured cutting board and use a large knife to slice it into two. Gently (again, not squishing bubbles) shape each into a round—the non-floured part should stick to itself. Preheat your oven to 450 degrees. Transfer onto your baking surface, seam side down, for at least another 30 minutes.
- Slash the top of the bread with a sharp knife before transferring into the oven.
- Bake for 15 minute at 450 degrees, then 25-30 minutes at 425. (If you're using a dutch oven with a lid, keep it on for the first 15 minutes and remove for the second part.)
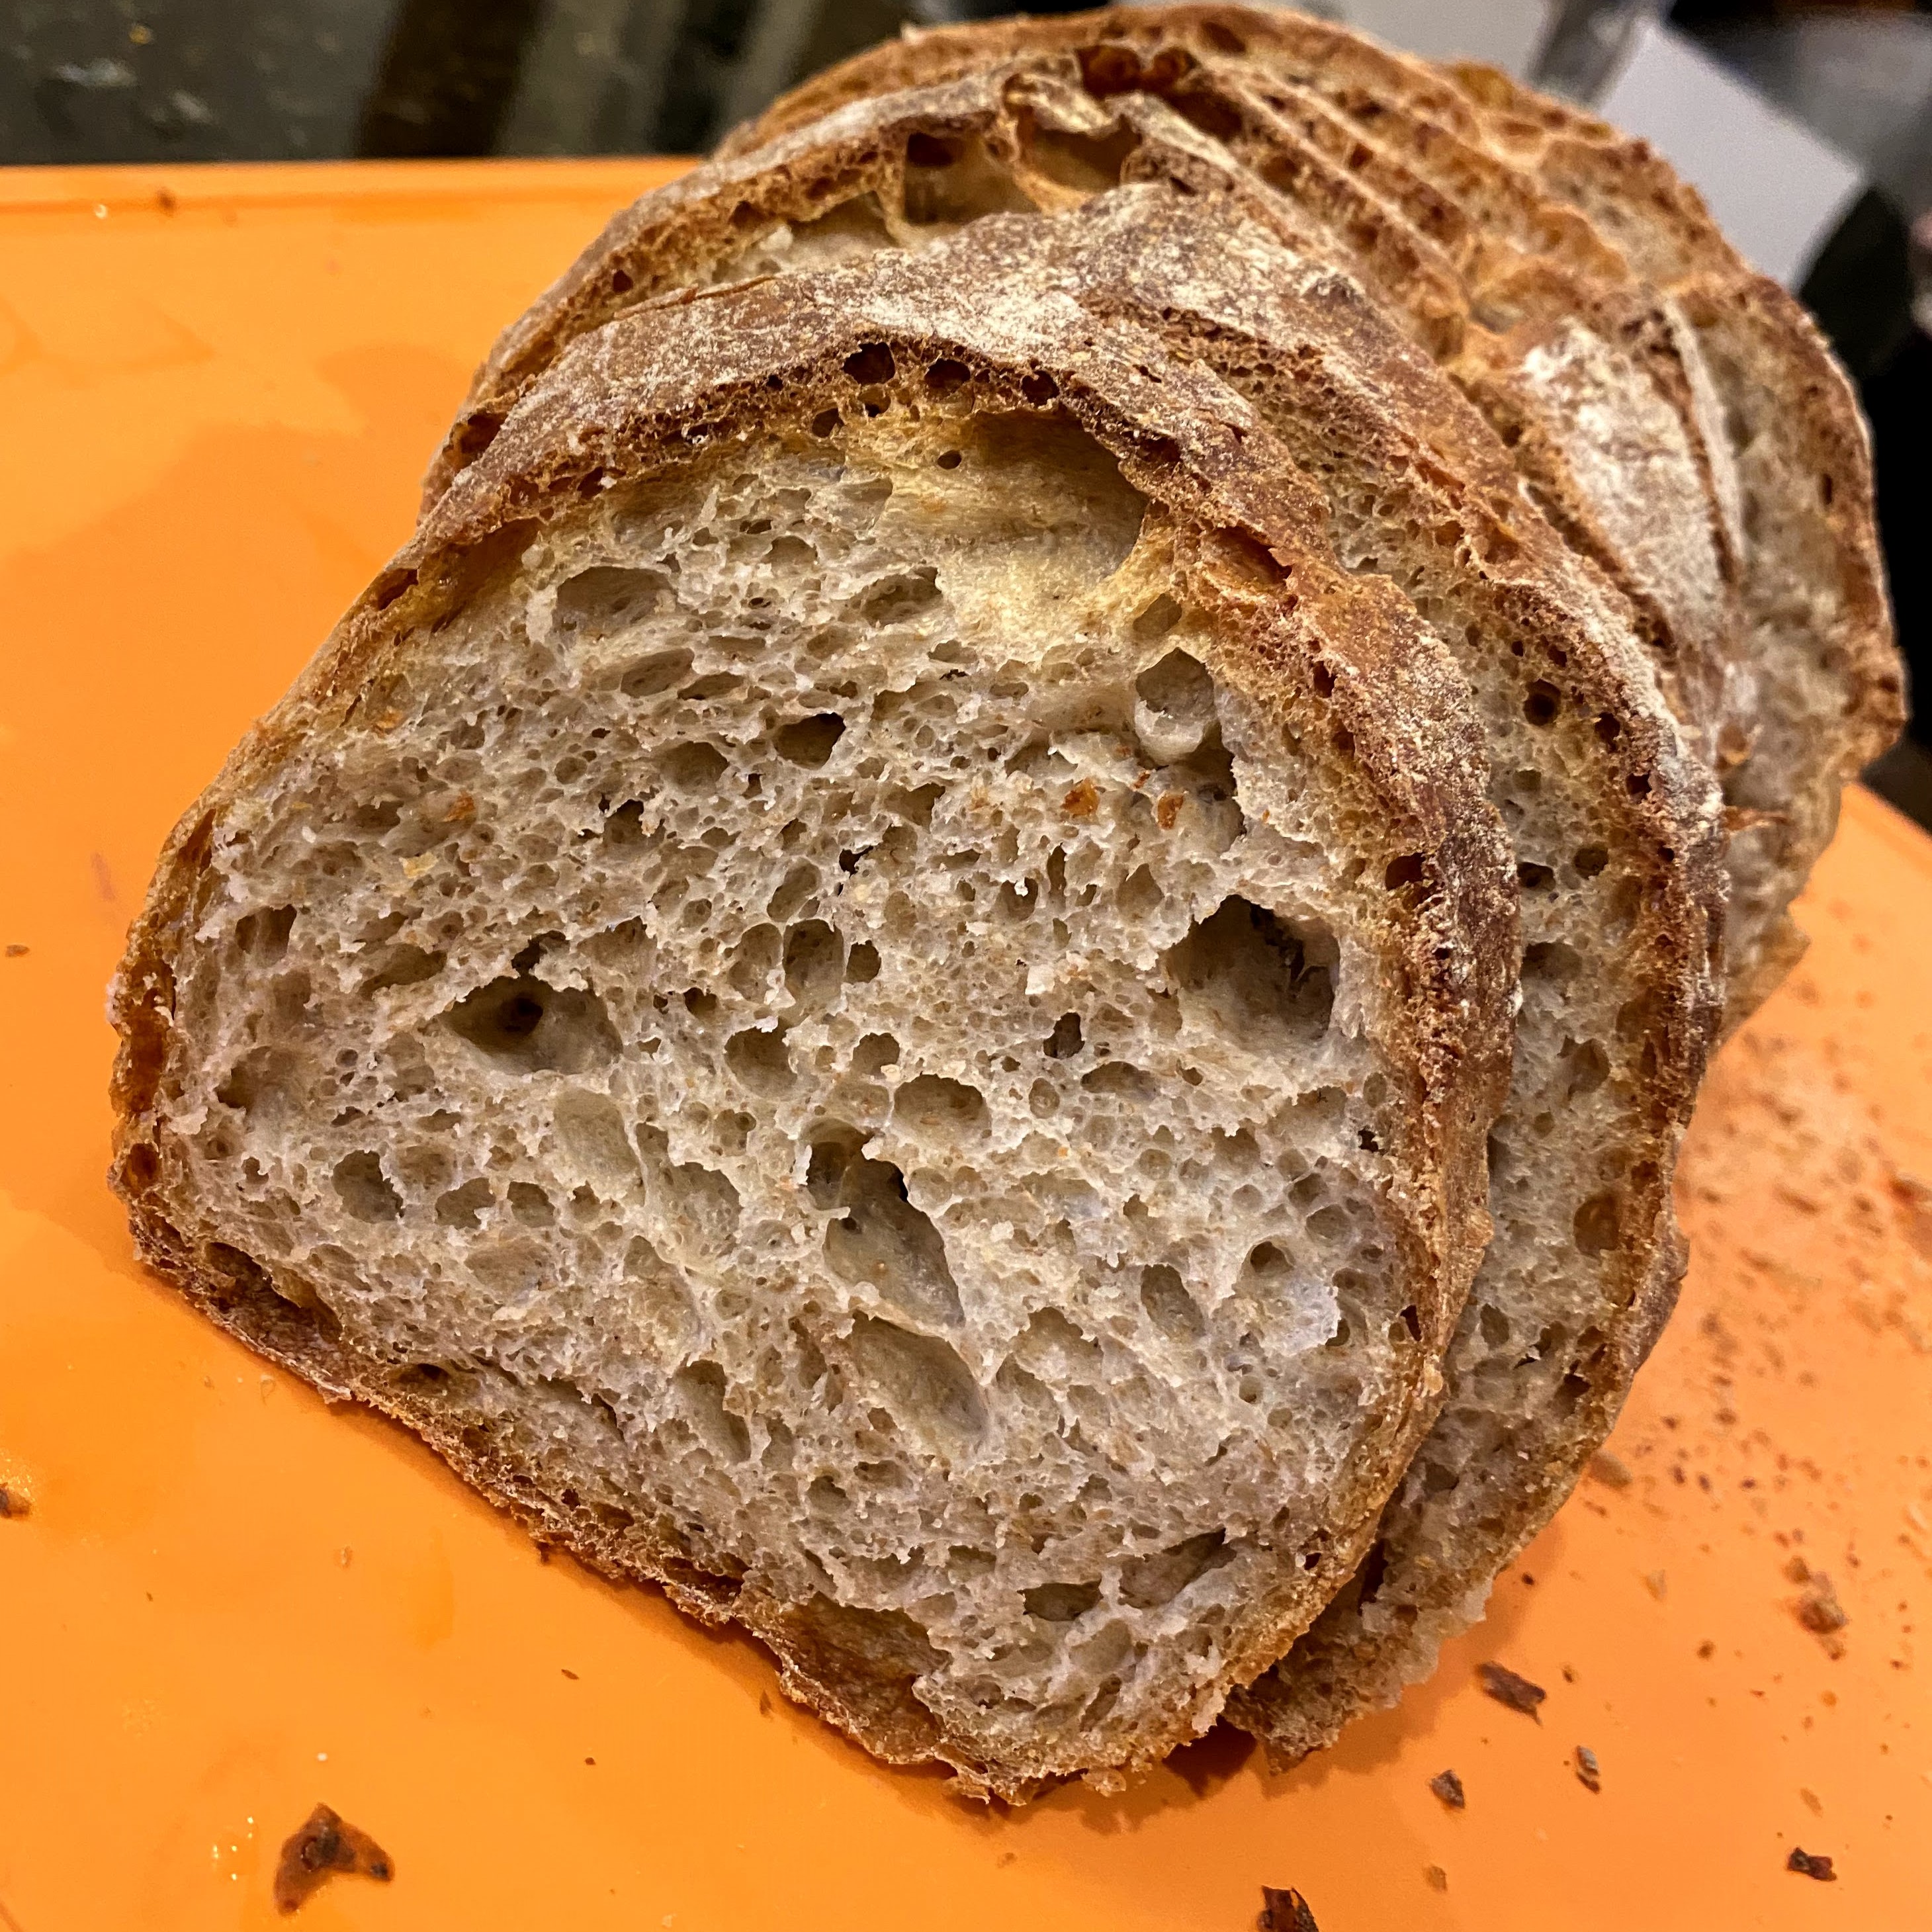
- The bread is done when a knock on the bottom sounds solid and the exterior is a nice golden brown. Let cool for at least 30 minutes before slicing so the steam fully cooks the inside. If the bread sticks to the pan... next time, parchment paper! Try tightly covering and inverting it so that steam will loosen the bread from the pan. Your crust won't be as crisp but it will still be tasty.
Again, sourdough is an ancient and flexible tradition! You can play with these variables and find what's best for you.
☙ For a more in-depth perspective, this guide from Claire Saffitz includes great photos (and many more steps I liberally skipped, haha)
☙ And if you like video illustrations, this video "15 Mistakes Most Beginner Sourdough Bakers Make" provides nice visual references.
OK, that's it! Here's your prize for having read all the way to the end: 🍞🏆✨